Community-Game-Development-Toolkit
Tutorial - Using Example Assets
Using the toolkt is easy! Get a taste of how to use it by experimenting with example assets.
Create a scene to work with
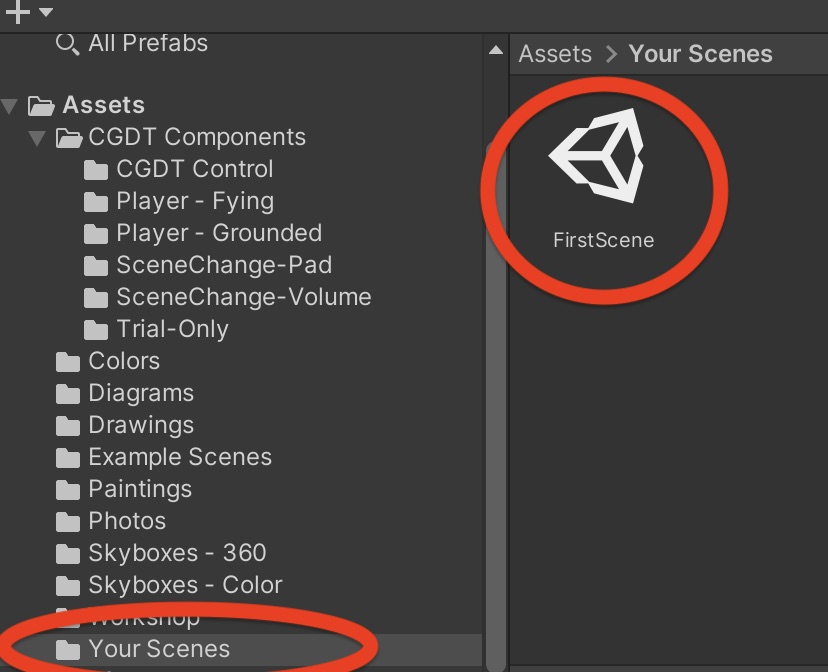
- In the Project panel, click on the Your Scenes folder
- In the Assets menu, choose Create->Scene
- The scene will appear on the right.
- Right-click it and choose Rename. Give it a name. Here It’s called FirstScene
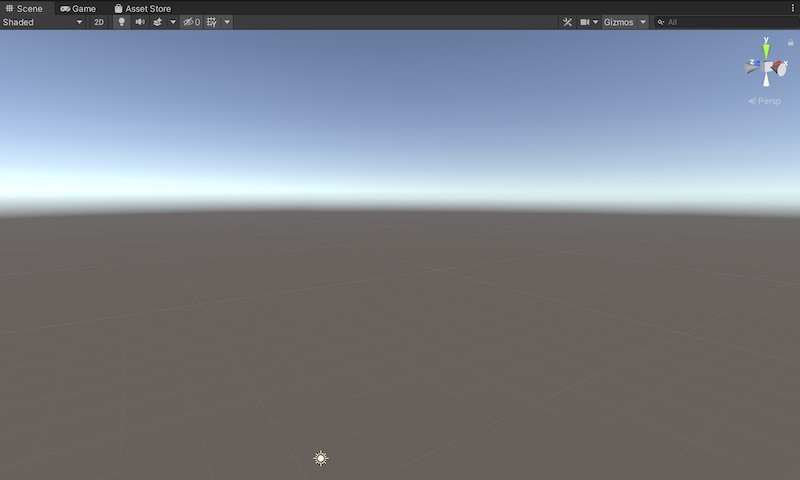
- In the scene view, you’ll see the default, empty scene:
Add one of the example drawings
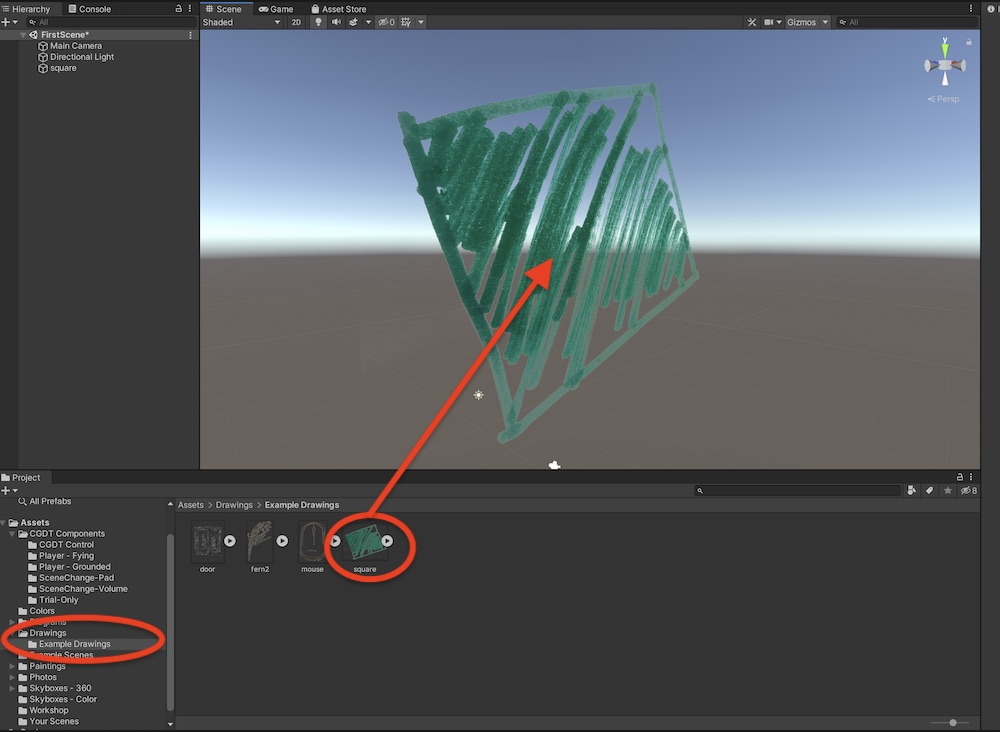
- In the project Panel, open up the Drawings folder to show the Example Drawing folder. Click on that.
- Drag square.png to the scene view
- Try moving it around using tools described in the Navigating The Unity Interface tutorial
Add another drawing and access from hierachy panel
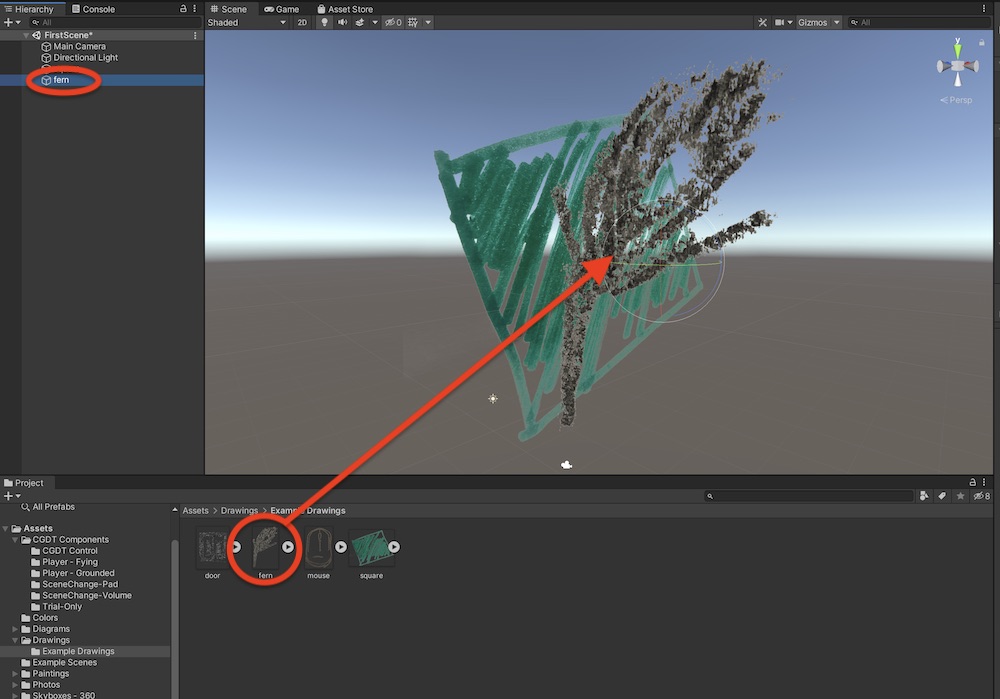
- Drag the fern into the scene view
- Notice that an object called ‘fern’ apperas in the Hierachy panel. The Hierachy panel lists objects curreny in the scene
- You can rename the fern (ex: Fern 1, Black Fern, etc)
Add a painting
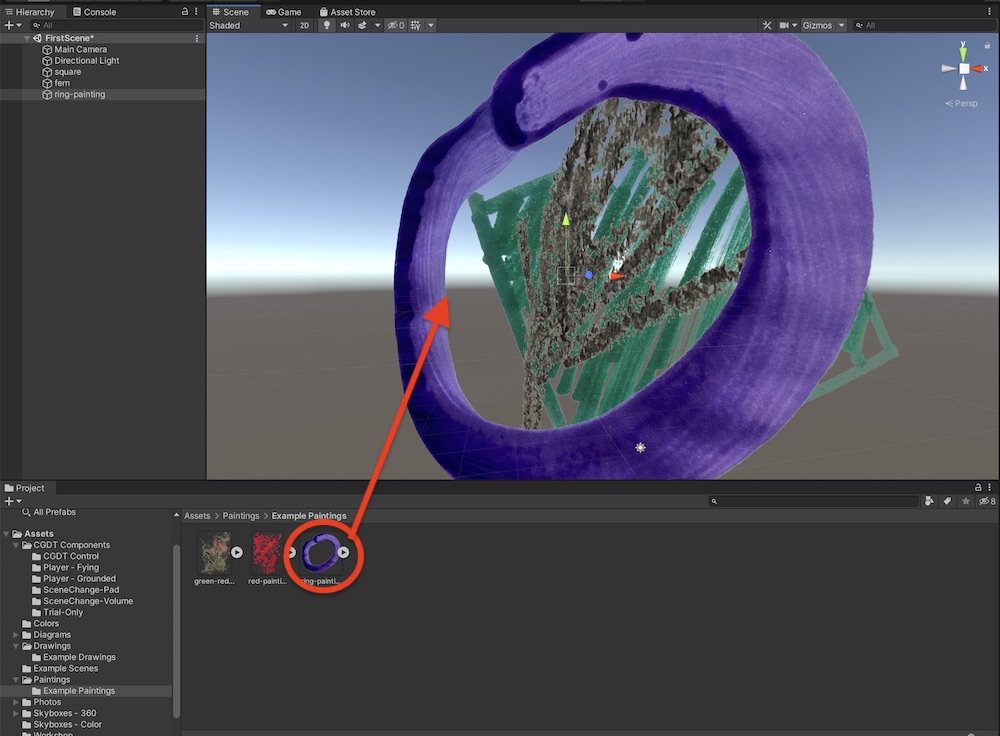
- Find the Painting->Example Paintings folder in the project panel
- Drag ring-painting to the scene
- Move, rotate and scale the painting in the scene
Add a diagram
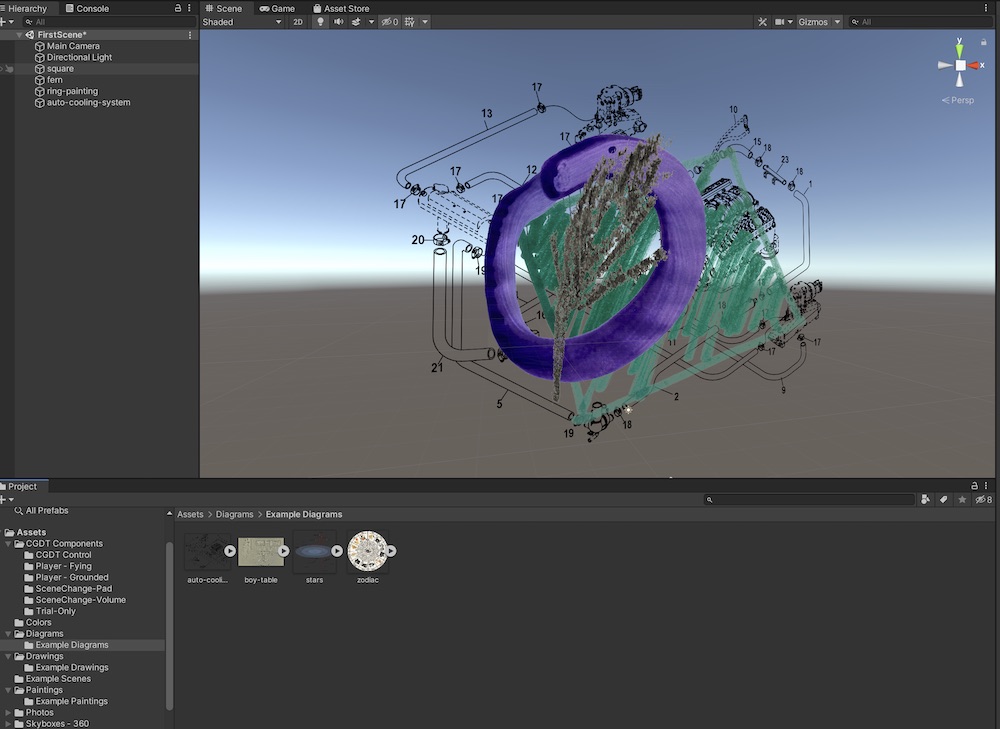
- Follow the same steps
Add a background color
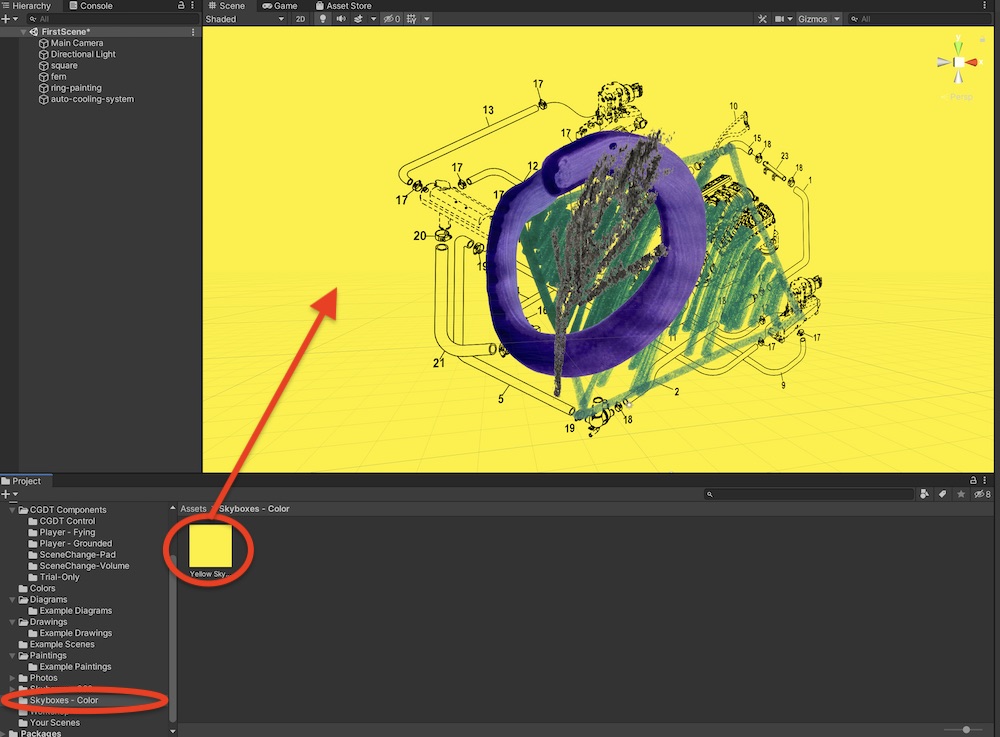
- Find the Skyboxes - Color folder in the project panel
- Drag ‘Yellow Skybox’ to the scene
OR add a 360-degree photo skybox (scene background)
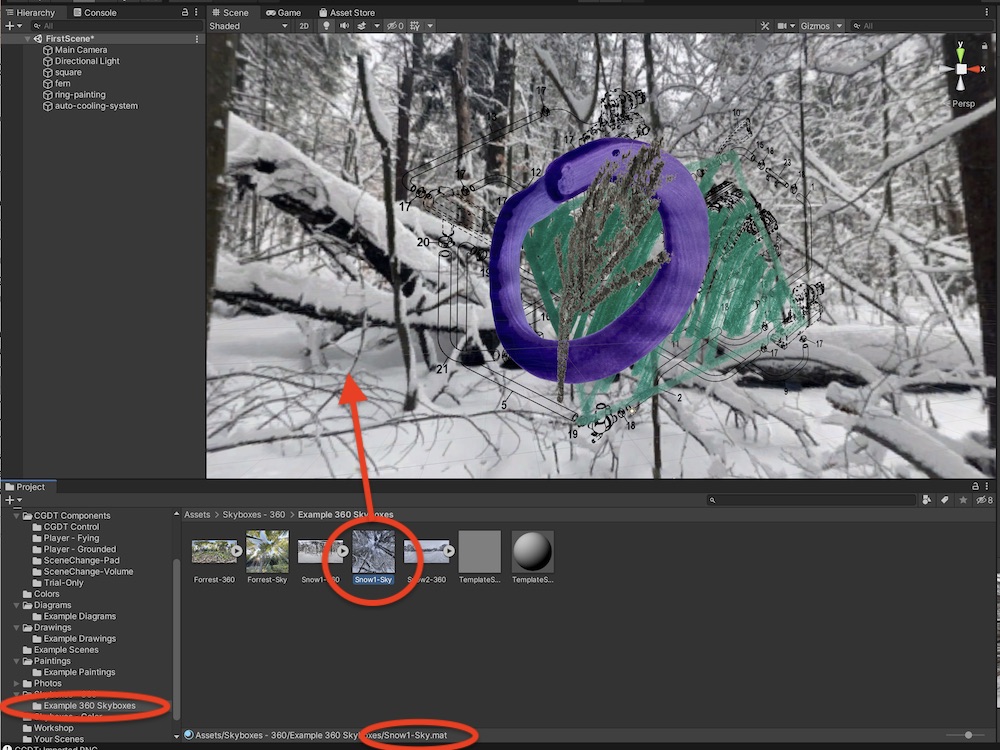
- Select the folder Skyboxes - 360 –> Example 360 Skyboxes in the Project Panel
- Find the file Snow1-Sky.mat. Confirm the name at the bottom of the window (circled).
- Drag to the scene
Add a movable player to the scene
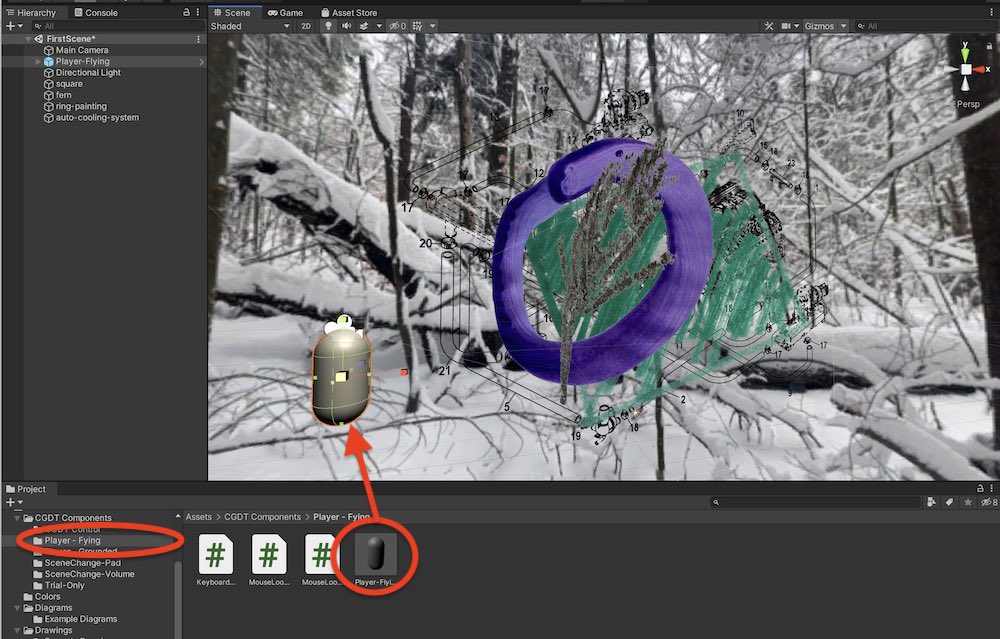
- Find the CGDT Components –> Player Flying folder in the Project panel
- Drag Player-Flying to the scene
- Note: Player-Flying is a player that moves around freely in 3D space. Player-Grounded moves only along the ground.
Play the scene!
- Press Command-P (mac) / Control-P (windows) to enter Play mode
- Or, press the play button above the Scene Panel
- Use the mouse to look around
- Use the arrow keys, or ASDW keys to move the character through the scene
Now add a scene change
- Scene change elements are obejcts that transport the player to another scene when the player passes through the object. Any object (drawing, painting, diagram, photo cut-out) can function as a scene change object.
- Here we will use the purple ring painting as a scene change object (because it looks vaguely like a portal – but it is up to you what a scene change should look like)
- Here we scaled-down the ring painting and positioned in front of other objects to make it noticable.
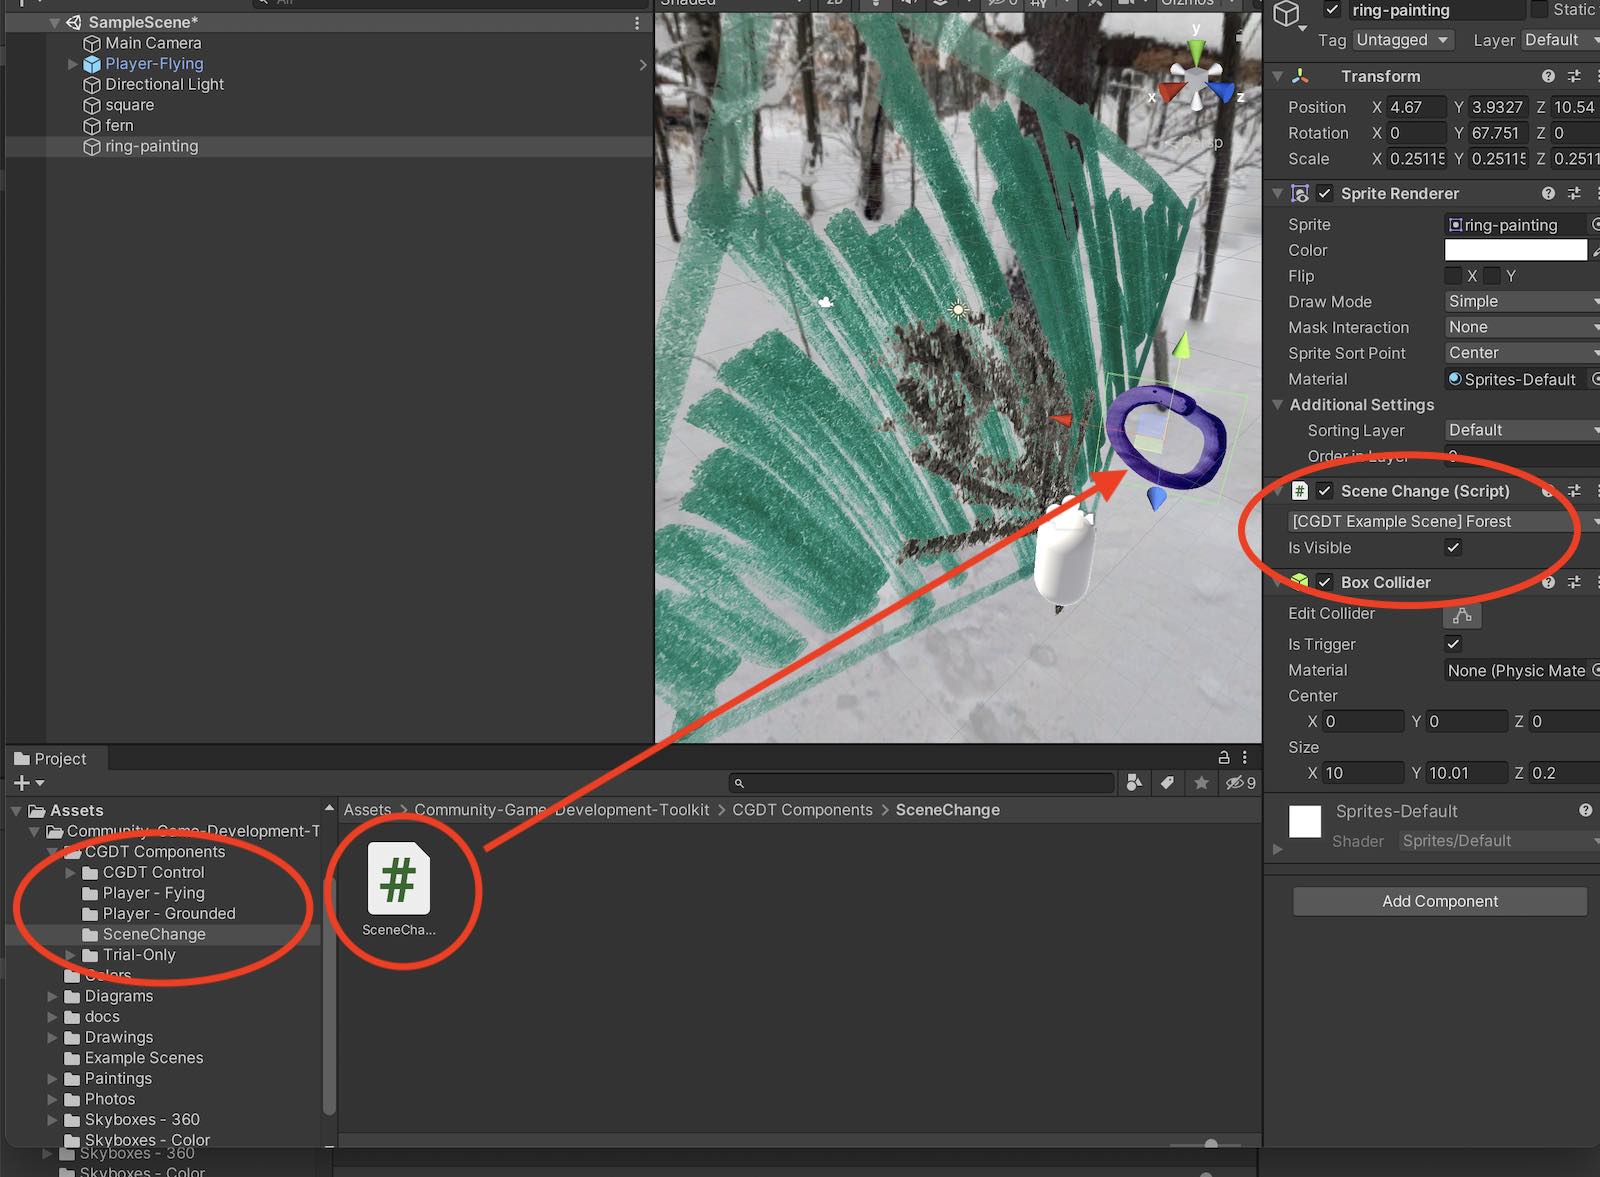
- In the Projects tab, select the CGDT Components -> SceneChange folder
- Drag the SceneChange script to the purple ring in the scene
- Make sure you currectly added the script by checking that the scene change component shows up in the inspector (on the right) when the purple ring is selceted.
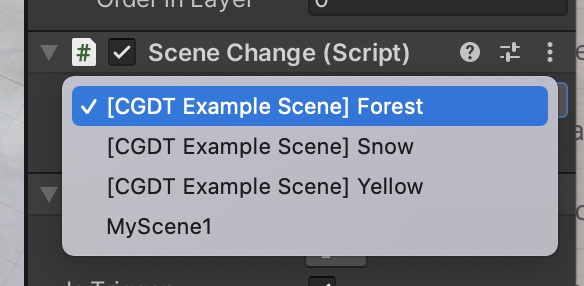
- Choose which scene you want your player to be transported to using the drop down menu (example scenes included in the toolkit are indicated with [CGDT Example Scene]. Here we’ve selected the example scene, Forest.
- Play your scene – move the player through the purple ring and you will be transported to the Forest Scene.
##Create interactive narrative
- Make more new scenes, and add scene change objects that take the player from one scene to another!