Community-Game-Development-Toolkit
Creating Artwork - Photo Cutouts using your own photos or found photos
Cropping objects out of images
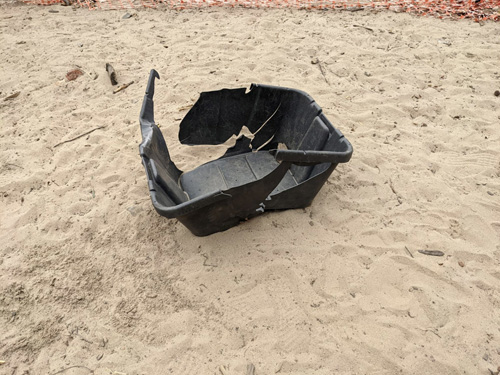
Example (it’s easiest if your object stands out from the background):
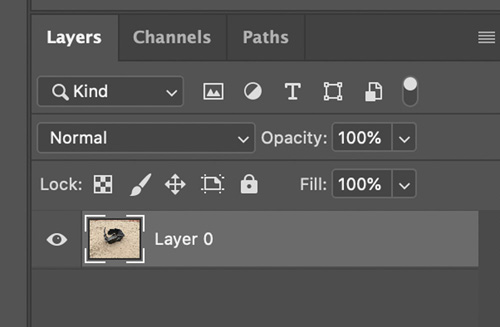
- Following same steps as above, double click background layer to turn into a regular layer:
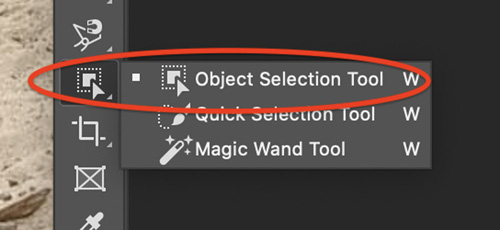
Option 1: Using object selection tool
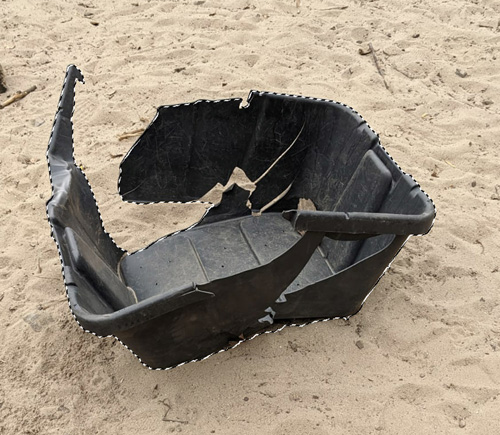
- Drag over the object and see if Photoshop selects what you want it to. In this case it did:
Option 2: Using Quick Selection Tool
- Adjust the brush size in this menu bar. Experiment so that brush is similar size, but a bit smaller than the shapes in your object
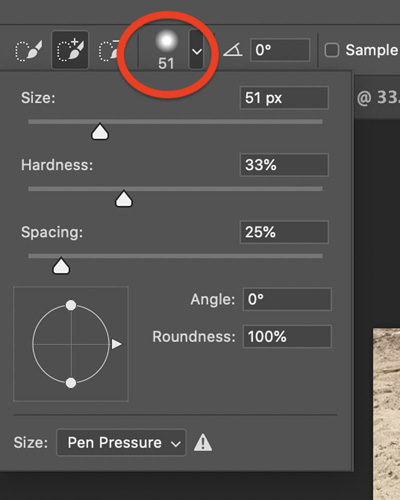
This is a good size to select the main portion of this object:
For smaller sections of object, you can make the selection brush smaller.
Removing from selected area
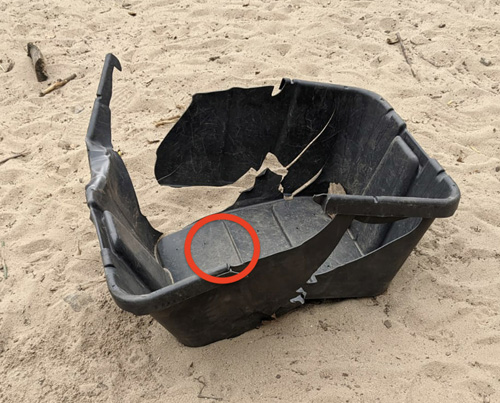
For example, if you select this sand area:
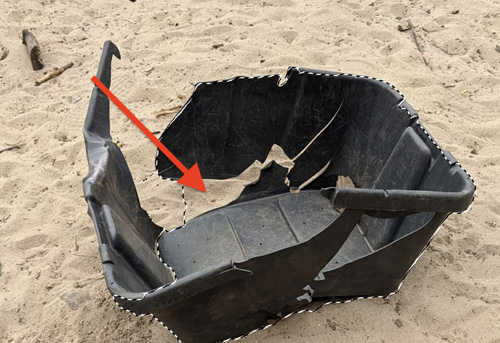
Press the option (or alt if you are on windows) key while selecting the areas you would like to remove from your selection.
Now: Once your finished making your selection
Now in the menubar go to Selection -> Inverse to select background. Delete the background to leaves transparency around the object:
Saving as a Transparent PNG
- In the menubar go to Image -> Image Size. Make your image about 1500 pixels in the maximum dimension.
- Go to File -> Export -> Quick Export as PNG. Save the file to your computer in a recognizable location.
Add the photo to your CGDT Unity project
- Make sure your CGDT project is open
- In the Project panel in your Unity project, navigate to the Photos folder. Drag your PNG to that folder in the Project panel.
- Drag it into your scene!