Community-Game-Development-Toolkit
Creating drawings and sketches for use in your project
Start by making a drawing
Crayons are fun!
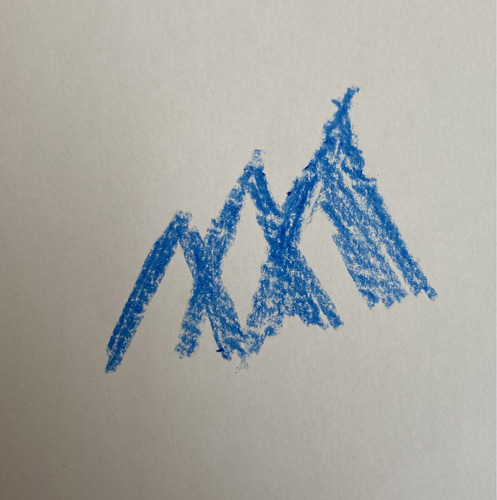
Make a drawing and take a photo of it. Try to take photo with even background light. Better yet, scan your drawing. Here is an example:
Open in Photoshop
- Open your image in Photoshop
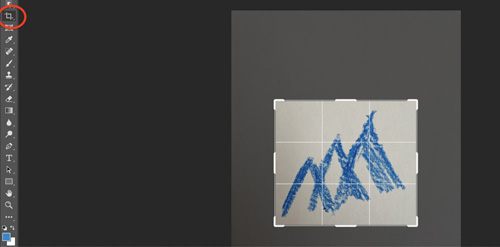
- Crop using the Crop Tool:
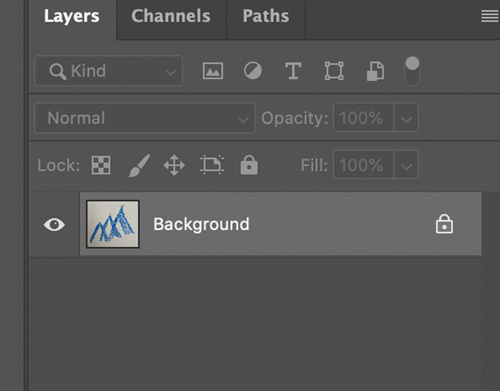
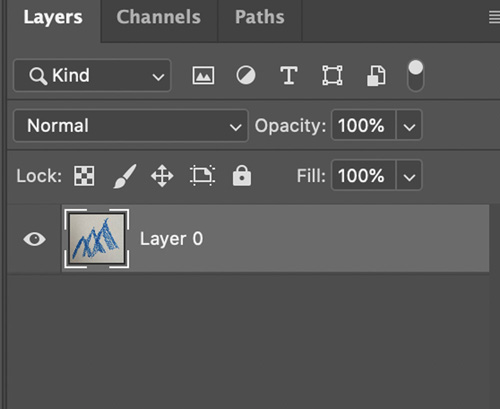
- Double click Background Layer to turn it into a regular Layer.
Before:
After:
Adjusting your image in Photoshop to make it easier to make a selection
Open your image, and from the menu bar choose Image -> Adjustments -> Levels. Fool around with these markers to make your drawing stand out from the background:
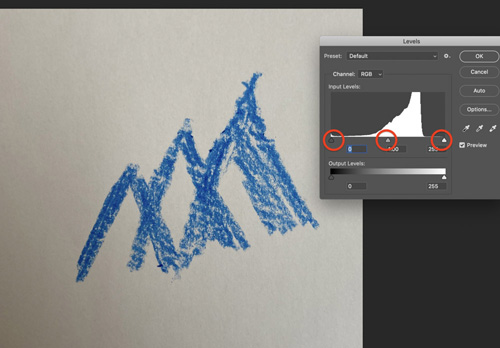
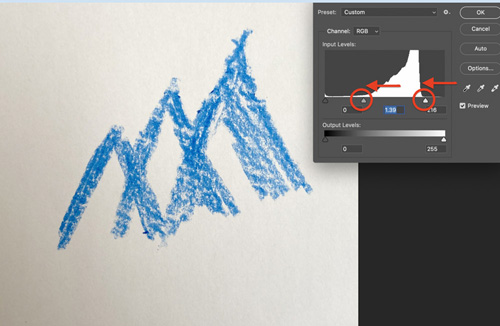
Usually it helps to move the right most marker inwards to make bright parts brighter, and the middle marker to the left to increase contrast:
Make a selection using the Color Range Tool
- From menu bar choose Select -> Color Range.
- Check ‘Invert’
- Use the eye dropper tool to click in your drawing.
- The black areas in the previews are your selection
- Try clicking on different locations to see what creates the best result. Also fool around with the Fuzziness slider.
- When done, press OK. (now, the background will be selected–you’ll see why in a minute)
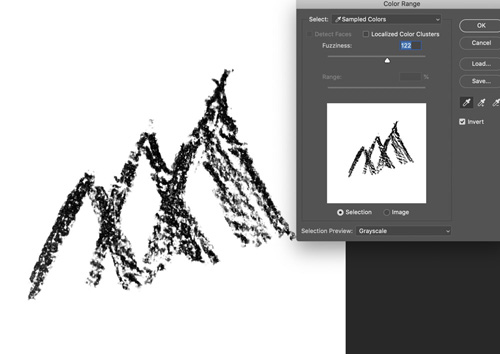
Now you should have something that looks like this, showing your selection:
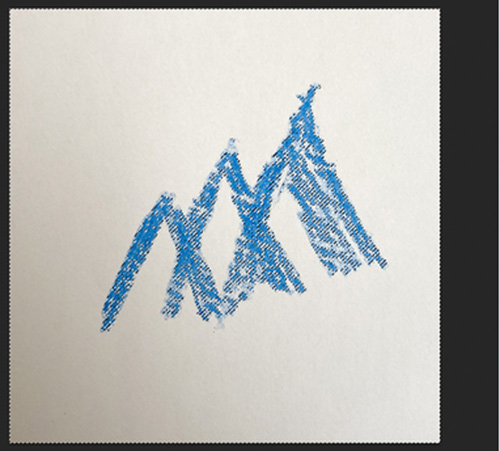
Press delete to delete the selected background. You should see checkerboard background, indicating transparent areas:
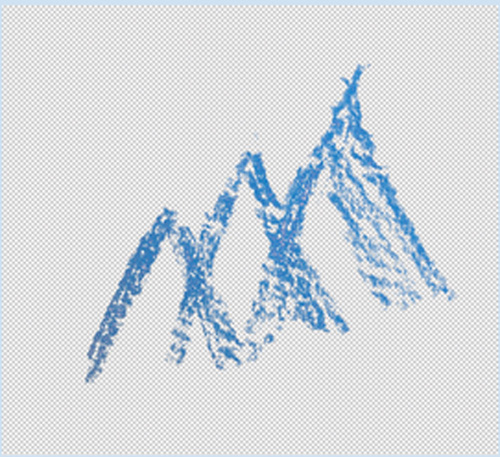
Saving as a Transparent PNG
- In the menu bar go to Image -> Image Size. Make your image about 1500 pixels in the maximum dimension.
- Go to File -> Export -> Quick Export as PNG. Make sure to give your file a recognizable name, and take note of where you save it on your computer.
If you have a multicolor drawing
Example:
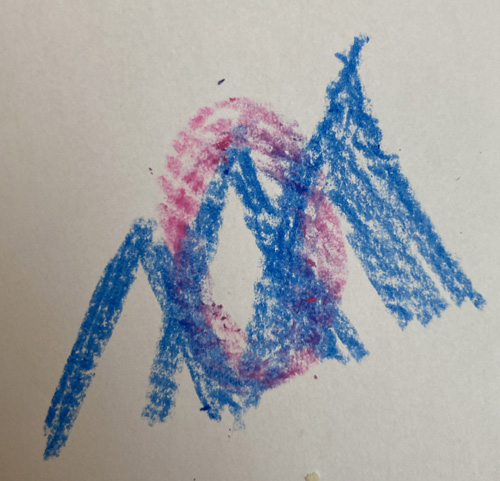
- In the selection step with the Color Range tool, don’t click the Invert check box.
- Then click on the image’s background to select the background:
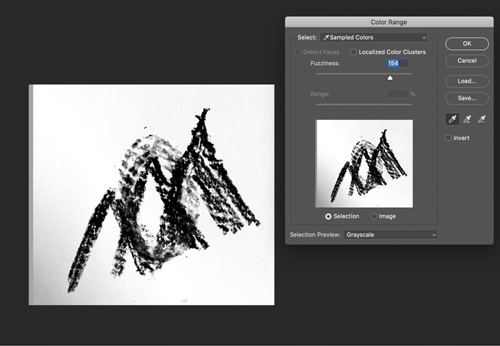
- Adjust where you click and the fuzziness slider.
- When finished, press OK, and then delete background. Complete rest of steps using the same process.
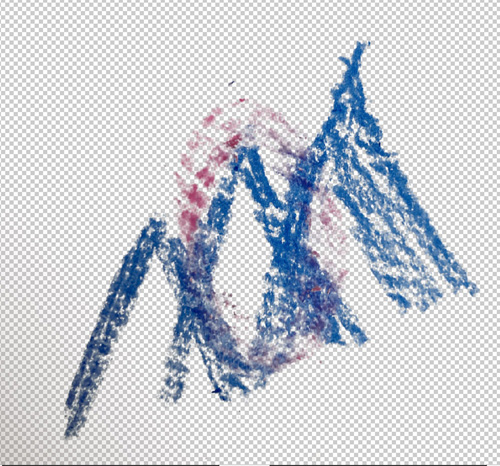
Saving as a Transparent PNG
- In the menubar go to Image -> Image Size. Make your image about 1500 pixels in the maximum dimension.
- Go to File -> Export -> Quick Export as PNG.
- Find your Unity project folder, and navigate to Assets->Drawings inside that folder. Save your PNG at that location.
Add the photo to your CGDT Unity project
- Make sure your CGDT project is open
- In the Project panel in your Unity project, navigate to the Drawings folder. Drag your PNG to that folder in the Project panel.
- Drag it into your scene!